
Copying Files in Remote Apps - Web Version
Procedure Overview
This procedure outlines the steps required to copy files within the Azure Virtual Desktop Web environment. It serves as a guide for users to efficiently transfer files, ensuring that data management within this platform is both seamless and secure.
Purpose
The purpose of this procedure is to enable users to understand and execute file copying tasks within Azure Virtual Desktop Web. It aims to enhance productivity by providing clear instructions on file management.
Scope
This procedure applies to all personnel who have access to the Azure Virtual Desktop Web interface and require guidance on file copying operations.
-
1How to upload a file to web
Prerequisites - Permissions
Before proceeding with this step, you will need to ensure that you have the necessary permissions to upload files to certain folders. Your permissions are managed via AD Manager, and your U4 ERP Administrator will be able to modify these for you.Instructions
To upload files via the web, you will need to follow the below instructions:- Select the Upload Icon near the top-right of the tab

- Select your file, you will be prompted when this is complete
- Navigate to Remote Desktop Virtual Drive on RDWebClient
- Select the Uploads folder
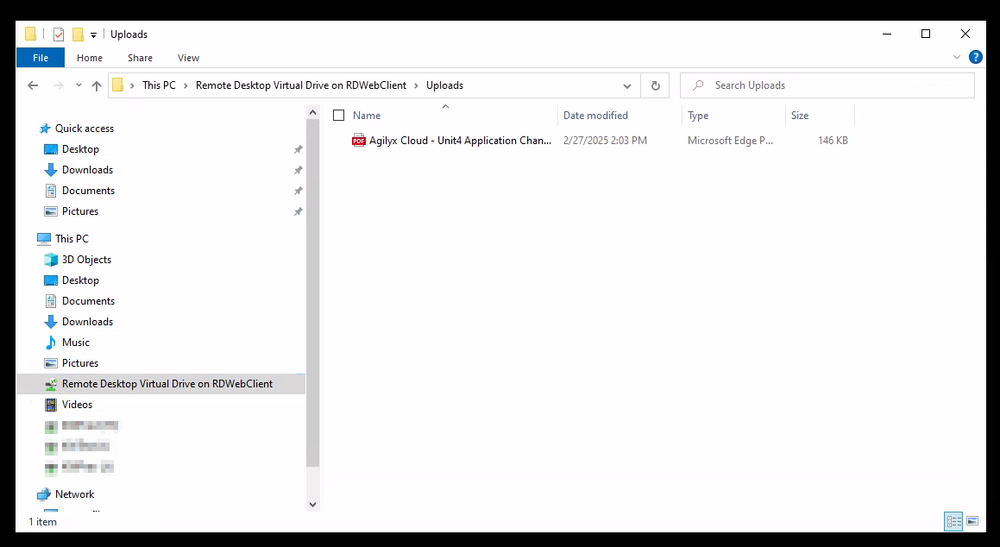
- Copy the uploaded file
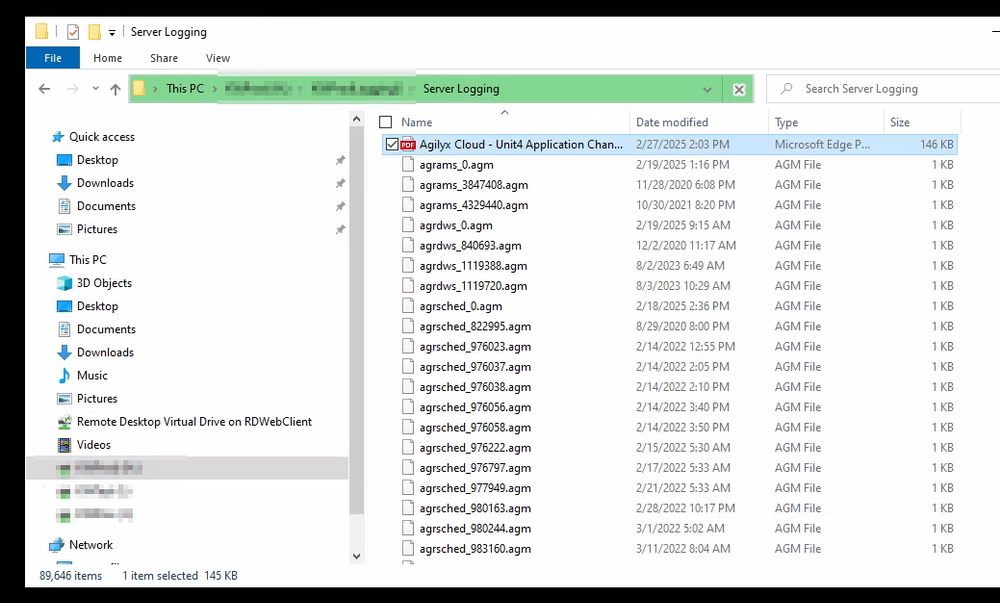
- Navigate back to your previous location, or select one of your mapped drives
- Paste the file
You have now successfully uploaded a file to your remote drives. - Select the Upload Icon near the top-right of the tab
-
2How to download a file to desktopDownloading files is a reversal of uploading them. To do this, follow the below instructions:
- Copy a file you want to download (it is recommended that you do not use the Cut option in this case, as any issue in the network can cause the file to be lost)
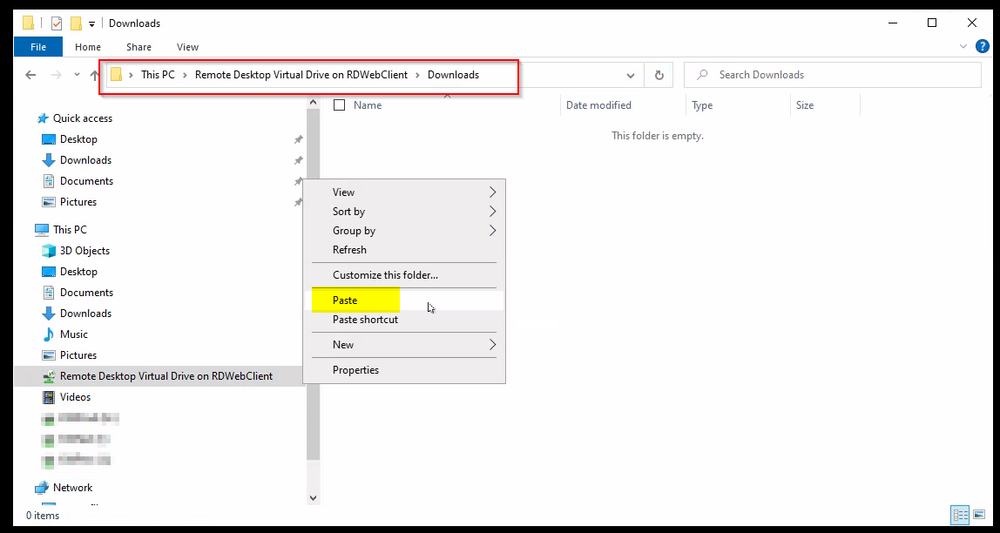
- Navigate to Remote Desktop Virtual Drive on RDWebClient and go to Downloads
- Paste the file in this directory
- You will be prompted to download the file, select confirm
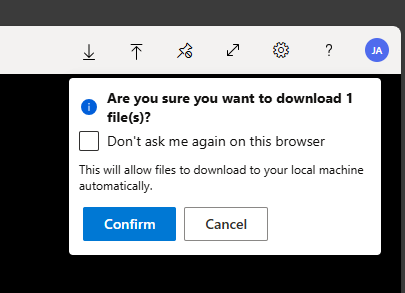
- The file will be downloaded to your Downloads folder